Before you start working on this, please make sure you have a latest spreadsheet that includes updated individual items. You can find demo spreadsheet here.
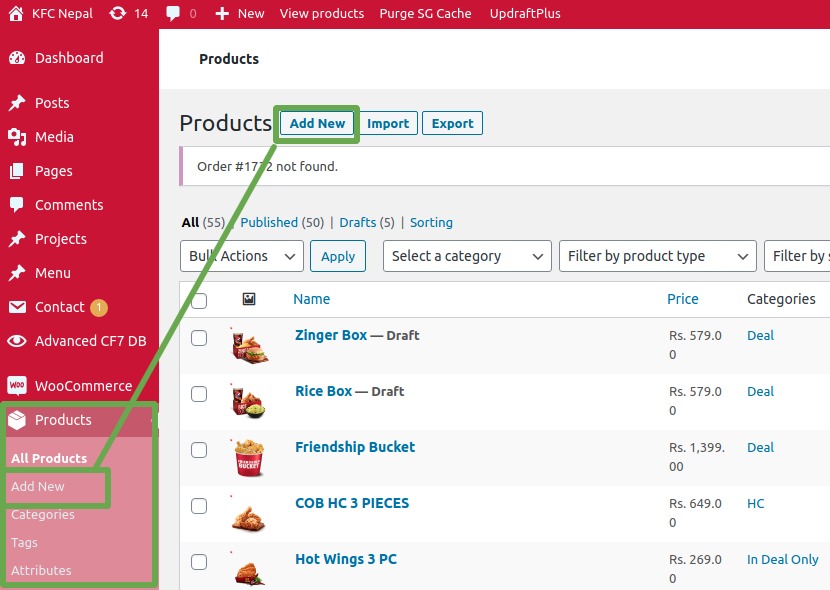
Once you’re logged in, you’ll see a menu All products at the left sidebar menu.
1. All products > Add new
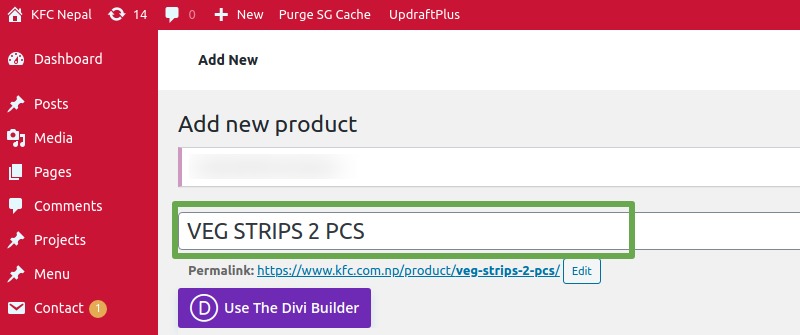
2. Add product name.
It’s recommended to avoid the special characters in the name.
Once you have the name ready, permalink(URL) will be automatically generated. If you wish to change it, you may do so by clicking the Edit button right beside it.
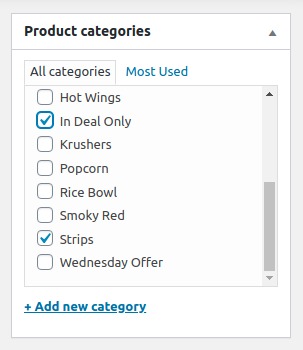
3. Select category
Choose a category from the right sidebar by checking a box for an existing option.
If item is not selling in ala carte (Not available to buy standalone), select category In Deal Only as well.
4. Product data option
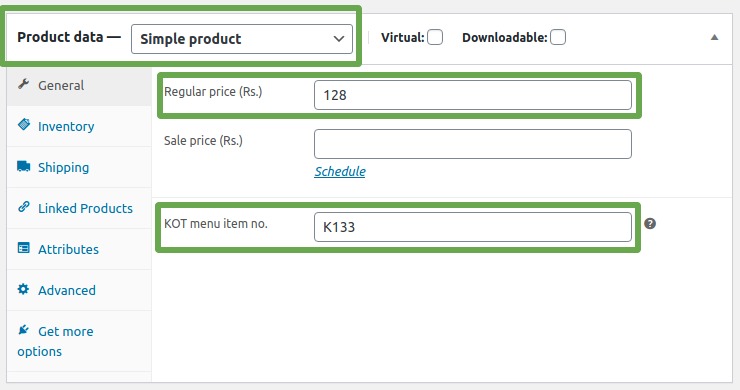
Make sure product data is – Simple product
5. Add regular price
Refer to the spreadsheet provided by the client for the value.
6. Add KOT menu item no.
Refer to the spreadsheet provided by the client for the value. Eg. K133
7. Set available outlets
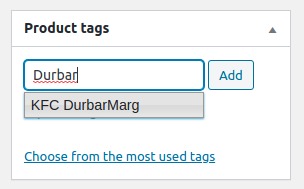
This is where you control outlets where this product is available for order placement.
In Product tags section, type initials of the outlet name. Choose one from the list of auto suggestions from the drop down.
Do not type store name completely at all.
8. Add product image
Add a featured image for the product that’ll be displayed in the shop page.
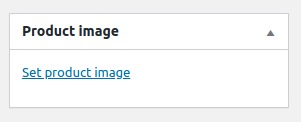
You can either choose an existing image from the gallery or upload a new one with following specifications.
- Type: png or jpg with white background
- Dimension: 345px X 345px
- Size: not more than 100kb
9. Publish
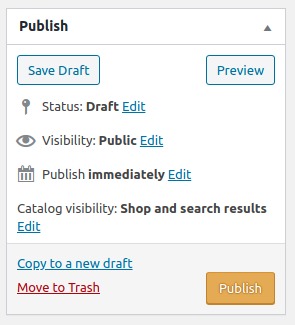
You can now publish or save the product as per required. The control is available in this section.